Scream And Run Pizzeria Walkthrough — the 3-Fuse Escape Route
The full Scream And Run Pizzeria walkthrough — find three fuses, survive from 12 AM to 6 AM against four hunters, and reach the exit the moment it opens. Verified from two full runs.
Pizzeria runs on a completely different loop from the first three chapters — no keys, no backpacks, no production chain. The whole map asks one thing of you: find three fuses, survive the night until 6 AM, and walk out the moment the exit powers on. This walkthrough is built from two full no-commentary runs of the chapter, frame-swept and cross-checked; where a detail needs a second source, it says so. Seen in footage · 2026-09-22
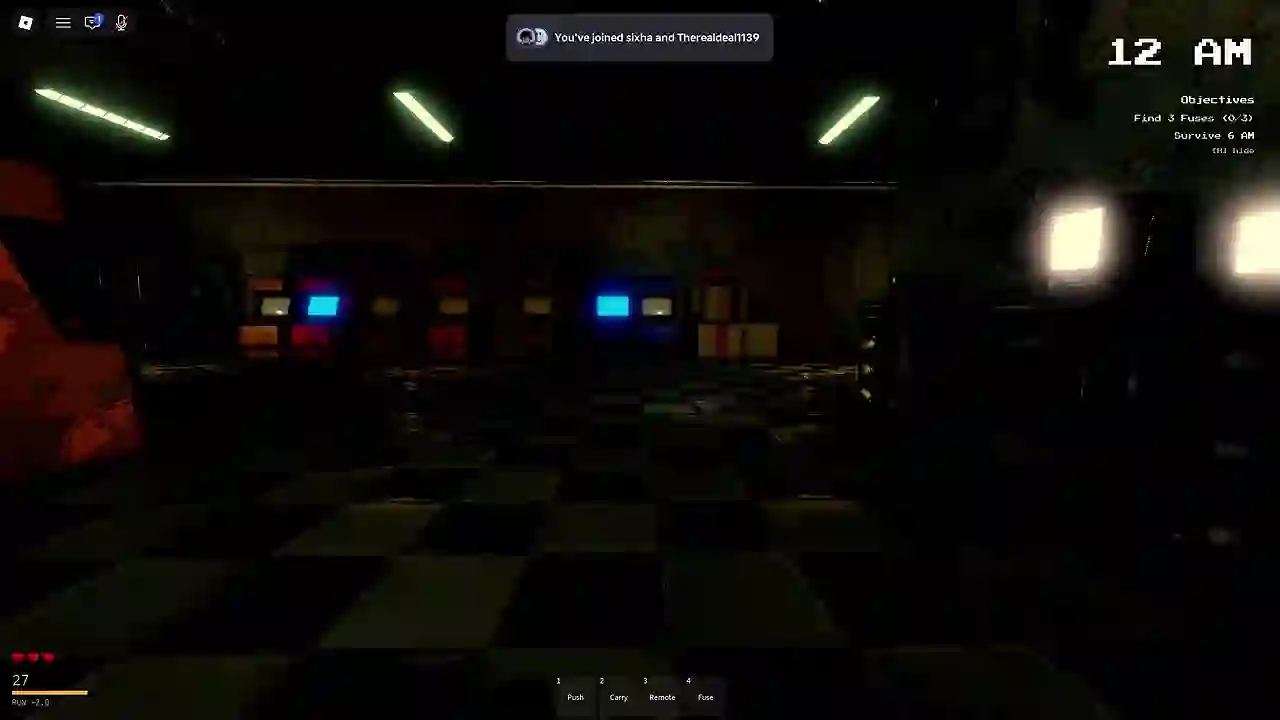
The Objective Panel — Read It First
The HUD shows a two-line objectives list for the entire round, and it is your most valuable tool:
- Find 3 Fuses 0/3 — the counter ticks up as you collect. Fuses are not marked on any map view in the footage; you hunt for them by eye like the School's backpacks. Seen in footage · 2026-09-22
- Survive 6 AM — the night clock starts at 12 AM and advances to 6. The clock is not a timer you can beat early: footage shows players collecting all three fuses and still waiting out the clock before the exit reacts. Seen in footage · 2026-09-22
Phase 1 — 12 AM to 3 AM: Collect Under Pressure

Footage credit: The Cringe Kids (YouTube), captured for documentation with attribution. Seen in footage · 2026-09-22
The four hunters (community footage names them Banny, Sha, Boozoo and Bon — see the Pizzeria monsters guide) patrol from minute one, and multiple sightings in the same run mean you are never fully safe on any floor. The first fuse in both reference runs lands inside the opening minutes; the second typically takes several more. Priorities in this phase: Community report · 2026-09-22
- Learn the room circuit before you greedily push corners — the map is dense and hunters overlap.
- Keep the flashlight discipline from earlier chapters: short bursts only.
- One fuse at a time. Getting caught while carrying makes you drop them on the ground mid-hunt, and retrieval under pressure is where runs die. Seen in footage · 2026-09-22
Phase 2 — 3 AM to 6 AM: The Long Hold

Footage credit: The Cringe Kids (YouTube), captured for documentation with attribution. Seen in footage · 2026-09-22
The third fuse is the hard one — the reference runs reach 2/3 early and spend several in-game hours hunting the last. Nothing about the map gets safer as the clock advances; if anything the hunters' pressure makes the final fuse the spike of the round. Stay mobile, re-check rooms you have already cleared (spawns re-roll in this series), and do not camp one spot waiting for 6 AM. Inferred · 2026-09-22
Phase 3 — "Exit Is Now Open"
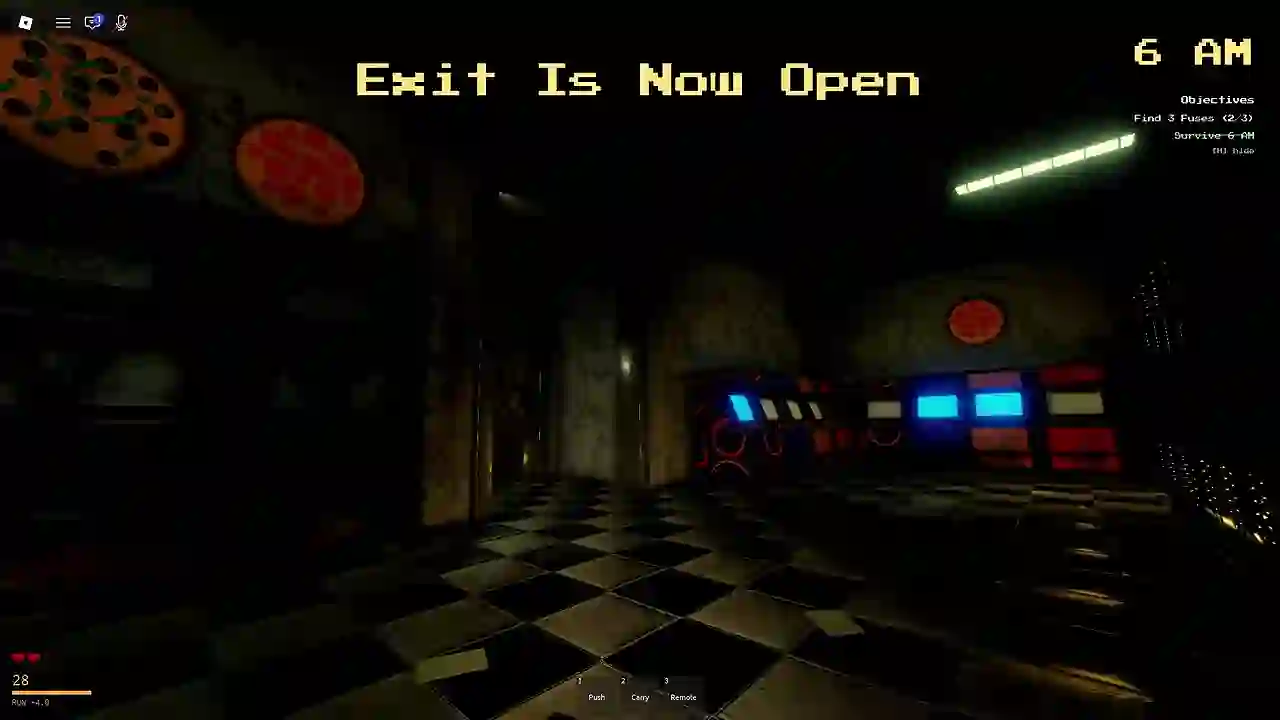
When the third fuse is collected the screen announces "Exit Is Now Open" — verified word-for-word in two independent runs. There is no key delivery step on this map: the exit simply powers on and you go. Seen in footage · 2026-09-22
Still Being Verified
The specific room locations of the three fuses (the footage HUD does not label them) and whether fuse spawn points re-roll per round like the School's keys: both to be verified as more runs are recorded. The Pizzeria live tracker carries the chapter's status, and the fundamentals — movement, flashlight, the laugh warning — are in the beginner guide.